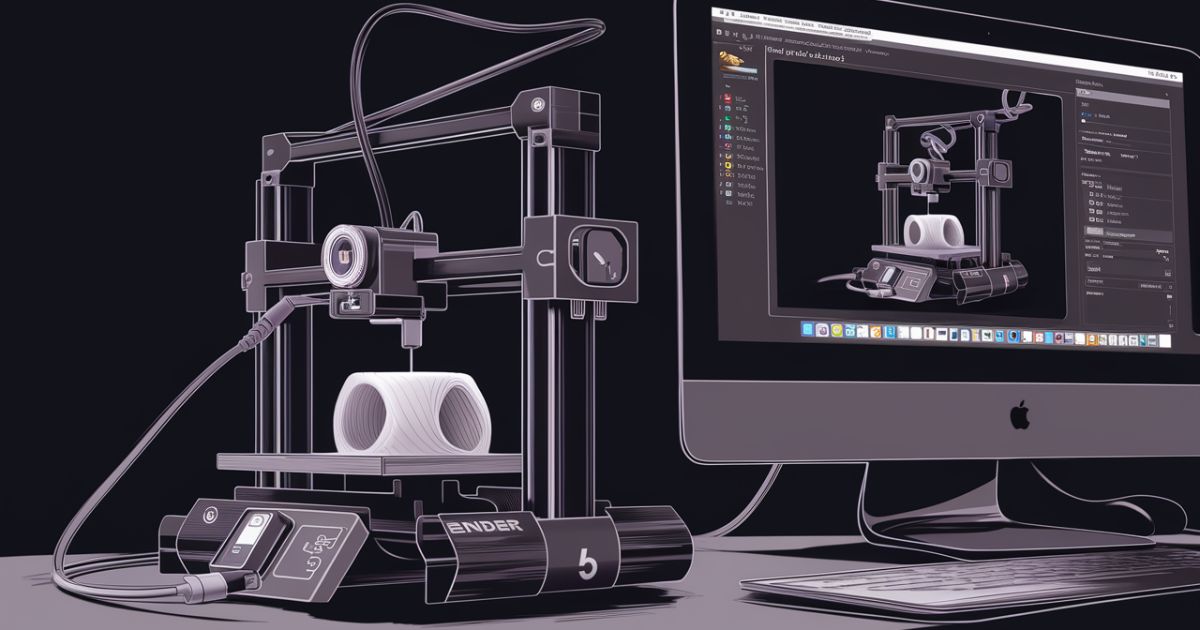
The Ender 3 is a popular 3D printer model from Creality. It’s known for its affordability and quality prints. This printer is widely used by hobbyists and beginners in 3D printing. It offers a good balance of features and performance for its price point.
It allows for more control, easier file transfers, and advanced printing options. This connection can significantly enhance your 3D printing experience.
The Ender 3 has a build volume of 220x220x250mm. It uses 1.75mm filament and has a 0.4mm nozzle. The printer can achieve layer heights as low as 0.1mm. It supports various filament types, including PLA, ABS, and PETG. The Ender 3 is known for its easy assembly and user-friendly design.
Required Materials and Setup
Before you start connecting your Ender 3 to your PC, let’s gather what you need. First, you’ll need a USB cable specifically, a USB A to USB B cable. This is the same type often used for printers.
Make sure it’s long enough to reach from your computer to your 3D printer. Next, you’ll need a computer with suitable software. Most people use programs like Cura or Simplify3D for 3D printing. Check if you need to update your printer’s drivers. You can usually find these on the manufacturer’s website.
Setting Up the Connection
Once everything is set up, you’re ready to start sending print jobs directly from your PC to your Ender 3. It’s a good idea to do a test print to make sure everything is working correctly. Now, let’s get your Ender 3 connected to your PC. Here’s what you need to do:
- Find the USB port on your Ender 3. It’s usually on the side of the control box.
- Plug one end of the USB cable into your printer and the other into your computer.
- Install your chosen slicing software if you haven’t already.
- Open the software and look for a section to add your printer. You might need to input some details about your Ender 3.
- Install any additional drivers if your computer prompts you to.
How to Connect Ender 3 to PC | Step by Step
Connecting your Ender 3 to your PC can really boost your 3D printing game. It’s not just about making things easier it opens up a whole new world of possibilities for your creations. Move through the process step by step, keeping things simple and straightforward.
Ensure Your PC Software is Ready:
You need to get your computer ready for action. The star of the show here is usually a program called a slicer. Think of it as the translator between your 3D models and your printer. Popular choices include Cura and Simplify3D. If you haven’t already, go ahead and download one of these. Make sure you grab the latest version to avoid any hiccups down the road.
Prepare the Printer:
Turn our attention to your Ender 3. Before we dive in, it’s a good idea to check if your printer needs a firmware update. Think of firmware as your printer’s operating system keeping it up to date ensures everything runs smoothly.
You can usually find the latest firmware on the Creality website (that’s the company that makes the Ender 3). If there’s an update available, go ahead and install it. It might seem like a hassle, but trust me, it’s worth it in the long run.
Connect the USB Cable:
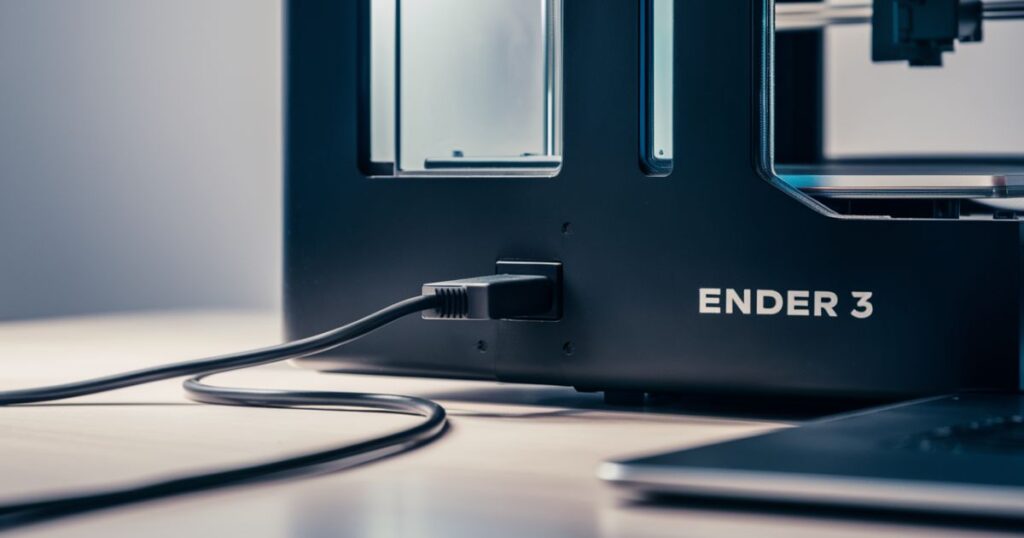
This part is pretty straightforward. You’ll need a USB cable – the kind with a square end (USB-B) and a flat end (USB-A). Plug the square end into your Ender 3’s control box. You’ll find the port on the side or back. Then, plug the flat end into an open USB port on your computer.
Install Required Drivers:
When you plug in your Ender 3, your computer might recognize it right away. You might need to install some drivers. These are like interpreters that help your computer and printer talk to each other.
You can usually find these on the Creality website or sometimes they come bundled with your slicing software. If your computer asks you to install drivers, just follow the prompts.
Configure the Slicing Software:
Now comes the fun part – setting up your slicing software to work with your Ender 3. Open up your chosen software (like Cura) and look for an option to add a new printer. Choose the Ender 3 from the list of printers.
You’ll need to input some details about your printer, like its build volume (that’s how big of a print it can make) and nozzle size. Don’t worry if this sounds complicated, most software has preset options for the Ender 3 that you can use.
Test the Connection:
Before we go all out, it’s a good idea to do a test run. Try sending a small, simple model to your printer from your PC. Watch how it starts up and lays down the first layer. This is a great way to catch any issues early on. If something doesn’t look right, double-check your connections and settings.
Start Printing:
If your test print went well, You’re now ready to start printing directly from your PC. This setup gives you more control over your prints and lets you make adjustments on the fly. Plus, you can keep an eye on your print’s progress right from your computer screen.
How to Connect Ender 3 to PC Wirelessly

While the basic Ender 3 doesn’t come with built-in Wi-Fi, there are several ways to add wireless connectivity, opening up a world of remote monitoring and management possibilities.Another method is using a Raspberry Pi (a small, affordable computer) running OctoPrint.
One popular option is the Creality Wi-Fi Box, specifically designed for Creality printers like the Ender 3. This device allows you to easily network your printer wirelessly. It offers the convenience of managing your printing tasks without physical connections, providing more flexibility and efficiency in your setup.
For those considering an upgrade, newer 3D printer models often come with built-in Wi-Fi. For example, the Creality Ender-3 V2 supports Wi-Fi with add-ons, and models like the Creality K1, K1C, and K1 Max have Wi-Fi support built right in.
With a wireless connection, you can:
- Monitor print progress from anywhere in your home or even remotely
- Receive real-time notifications about your print status
- Start prints from a distance using compatible software or web-based platforms
- Manage multiple printers centrally if you have more than one
Installing and Configuring Software
Getting your 3D printer up and running involves a bit of software setup, it’s not as daunting as it might sound. Let’s configure it down into two main steps:
Installing (Ultimaker Cura) on the PC
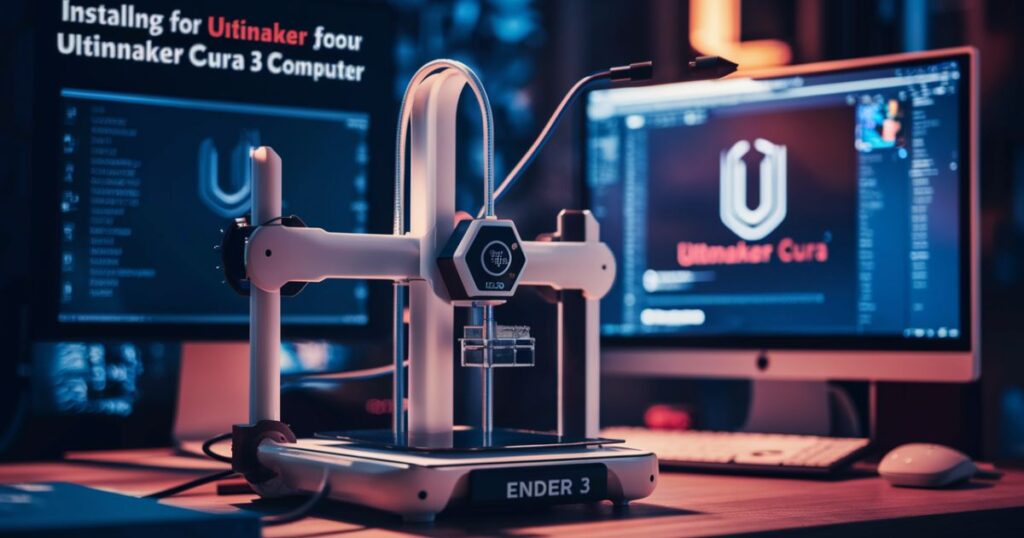
First things first, you’ll need to get Ultimaker Cura onto your computer. This nifty program turns your 3D models into instructions your printer can understand.
Head over to the Ultimaker website, download the right version for your computer, and follow the installation wizard. It’s pretty straightforward just click through the prompts, and you’ll be done in no time. Once it’s installed, fire it up and let’s move on to the next step.
Configure the Slicing Software to Interface with the Ender 3
First things first, open up your slicing software (like Cura) and look for a way to add a new printer. You’ll want to select the Ender 3 profile if it’s available. If not, no sweat – you can set it up manually.
Input some key details. Your Ender 3’s build volume is 220 x 220 x 250mm, and it uses a 0.4mm nozzle with 1.75mm filament. Pop these numbers in, and you’re halfway there!
PLA is a great starter filament, so choose that profile if you’re using it. You can tweak settings like print temperature and speed later as you get more comfortable.
Here’s a pro tip: always do a test print. It’s the best way to check if your settings are spot-on. Try a small calibration cube. It’s quick and will show any issues.
Fine-tuning is part of the fun. Don’t be afraid to experiment with settings like layer height or infill density. Each tweak can improve your prints.
save your settings once you’re happy with them. This way, you can easily switch between profiles for different projects.
Conclusion
Connecting your Ender 3 to your PC isn’t as tricky as it might seem. By installing Ultimaker Cura and setting it up correctly, you’re well on your way to creating amazing 3D prints. Remember, it’s all about getting the software to “talk” to your printer.
Take your time, follow the steps, and don’t be afraid to experiment with settings. With a bit of practice, you’ll soon be controlling your Ender 3 from your computer like a pro. Happy printing, and enjoy bringing your digital creations to life.
FAQ’S
How do I connect my 3D printer to my computer?
Simply use a USB cable to connect your Ender 3 to your PC. Then, install and set up slicing software like Ultimaker Cura to communicate with your printer.
What should I do if my PC doesn’t recognize the Ender 3 when connected?
First, try a different USB port or cable. If that doesn’t work, check if you need to install drivers. Sometimes, restarting both your PC and printer can solve the issue.
Can I use third-party slicing software with the Ender 3?
While Cura is popular, you can use other slicing software like PrusaSlicer or Simplify3D.
How often should I update my slicing software profiles?
It’s a good idea to check for updates every few months or when you notice issues with your prints. Also, update when you change filament types.
What’s the best way to handle failed prints or printing errors?
Start by double-checking your slicer settings and bed leveling. If issues persist, try printing a calibration cube to pinpoint the problem.
Can You Connect to Ender 3 Wirelessly?
The stock Ender 3 doesn’t have built-in Wi-Fi, but you can add wireless capability with upgrades like OctoPrint on a Raspberry Pi or by installing a Wi-Fi module.